Acoustic panels
I’ve been building some simple acoustic panels to improve the acoustics and aesthetics in my recording studio. Mostly the aesthetics, really, but still.
I have a pretty good process for something that’s easy and cheap to build. And it doesn’t hurt the sound, at least.
For each panel I’m using:
- One 2'x4' sheet of project panel hardboard
- One 1"x2"x8' cedar furring strip, cut in half (in 4' lengths)
- Two metal eye hooks
- Picture hanging wire
- Wood screws
- Wood glue
- 8 acoustic foam tiles, which I’ve managed to accumulate a lot of over the years
- Something to stick the tiles to the hardboard; I’ve found 3M spray adhesive to work the best so far (although I’ve also had okay results with Gorilla construction adhesive)
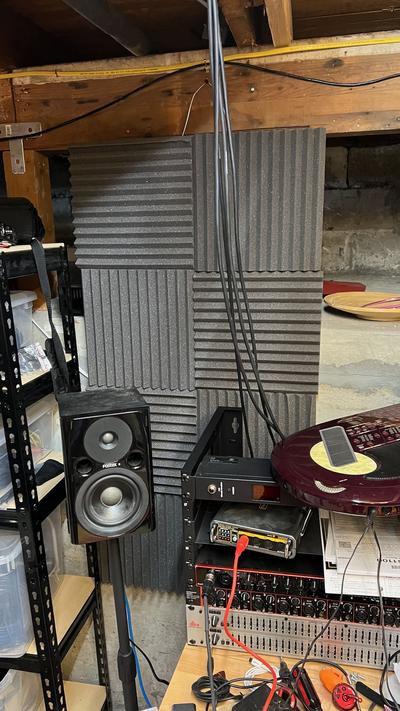
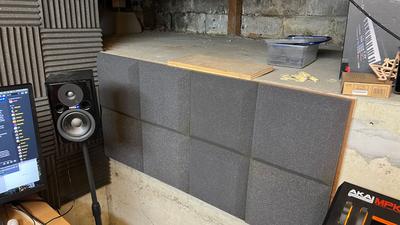
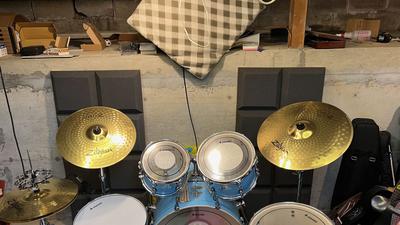
There are three mounting styles I’ve worked out, hung vertically, hung horizontally, and “shelved” horizontally:
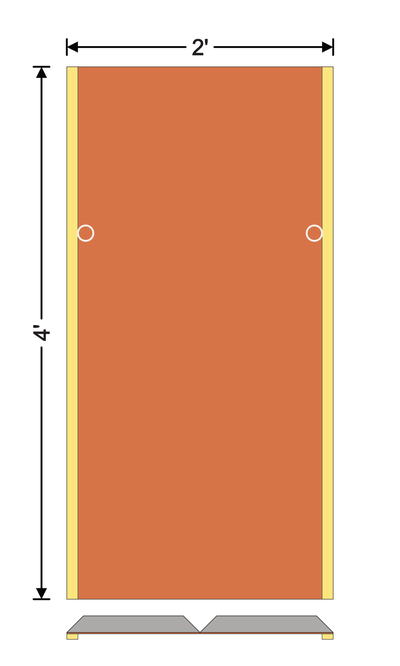
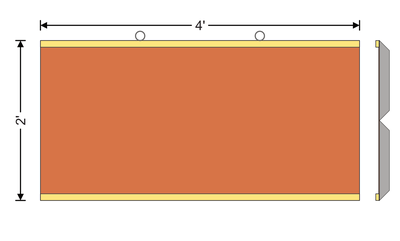
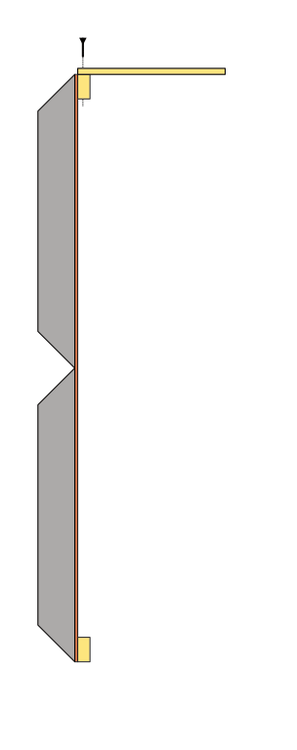
For the vertical and horizontal ones, they are hung like a picture; for the “shelf” ones, they have a sheet of scrap plywood attached to them which can rest on the crawlspace shelf.
The construction steps are basically:
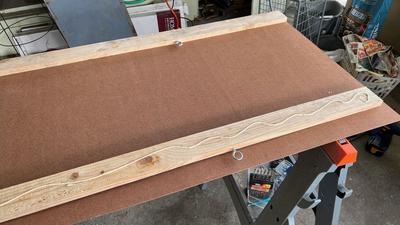
For ones which might be hung vertically, drill the holes and install the eye hooks into the furring strips (this is much more difficult to do later)
I like to use my hole centering jig but this is admittedly extreme overkill.
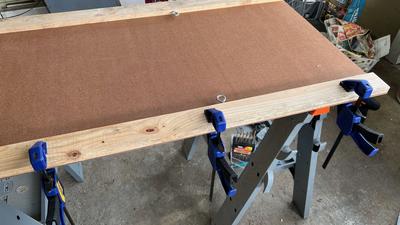
Place the hardboard down, porous backing-side up, and glue one of the furring strips down to the edge, clamping it in place.
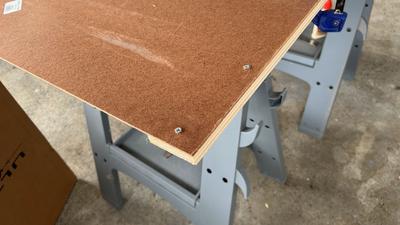
Flip it over, and use short (½"–1") wood screws to fully clamp the hardboard to the furring strip (or I guess you could just wait a few hours for the glue to set but I don’t have enough clamps or patience to wait that long).
Repeat with the other furring strip on the other side.
For a panel which will be kept in a “shelf” configuration, this is a good time to attach the plywood to the top edge’s furring strip:
- Clamping the plywood to the furring strip
- Drill a pilot hole through the plywood and furring strip, and screw it down with a 1"–2" wood screw
- Remove the screw most of the way (keeping it in the plywood) and removing the plywood
- Applying glue to the furring strip where the plywood will sit
- Screw the plywood back down using the screw to align it to the pilot hole
- Line up the plywood with the furring strip and clamp it down again
- Drill more pilot holes and screw the plywood in more securely
For ones that will be hung horizontally, now is a good time to add the eye hooks to the top edge.
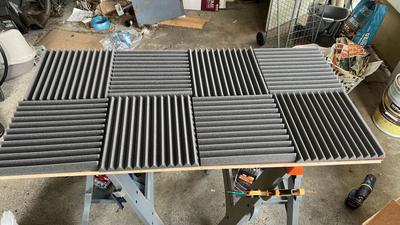
Draw your layout lines for placing the tiles on the smooth front of the hardboard
Spray the hardboard with the spray adhesive
For each tile, spray its back with the adhesive, wait 15-30 seconds for it to become tacky, and carefully place it on the hardboard. I like to go center-out and top-down from whatever edge is going to be the top of the panel.
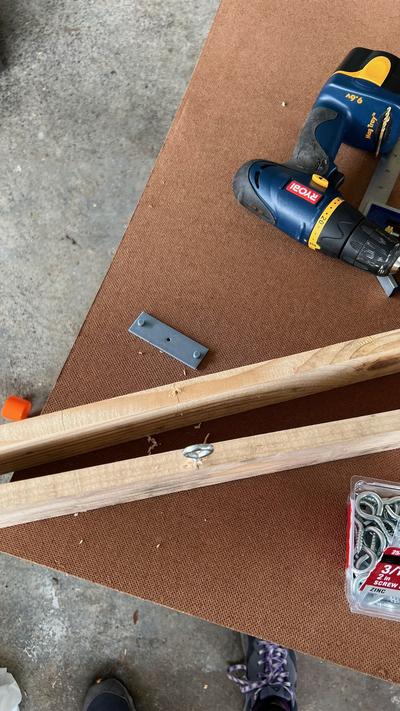
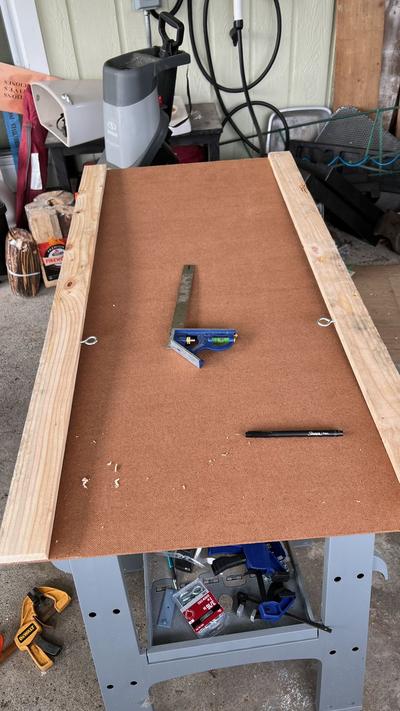
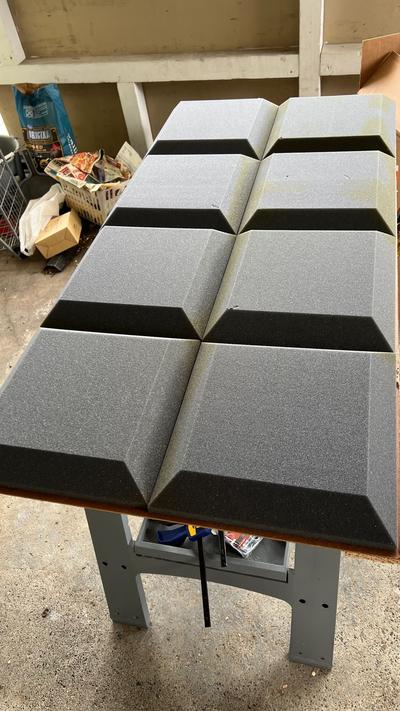
Anyway, after all this, the panels can be hung up in the same way that one would hang a picture.
I have enough materials to build 8 2'x4' panels in all, and currently have 5 of them built. Four of them are configured vertically and one is a hanging shelf.
Right now I plan on making three more with the ridgey foam, two of which will hang horizontally behind the drum kit (replacing the janky ancient plaid ones that I made around 18 years ago out of a cheap blanket and an eggshell-foam mattress topper), and one more that will stand vertically behind the kit. All of those will also get eye hooks that will allow them to hang vertically just in case, of course.
After that I’ll still have some acoustic foam tiles left over (28, I think?) and I have an idea for building a little bass trap end table thing that should take up 16 of those. And then I guess the remaining 12 can become three 2'x2' panels for my office.
I’m not sure what I’ll do with the old plaid panels. Those ones were, at best, just decorative, anyway.
Comments
Before commenting, please read the comment policy.
Avatars provided via Libravatar